 Do you have clippers or clip your horse?
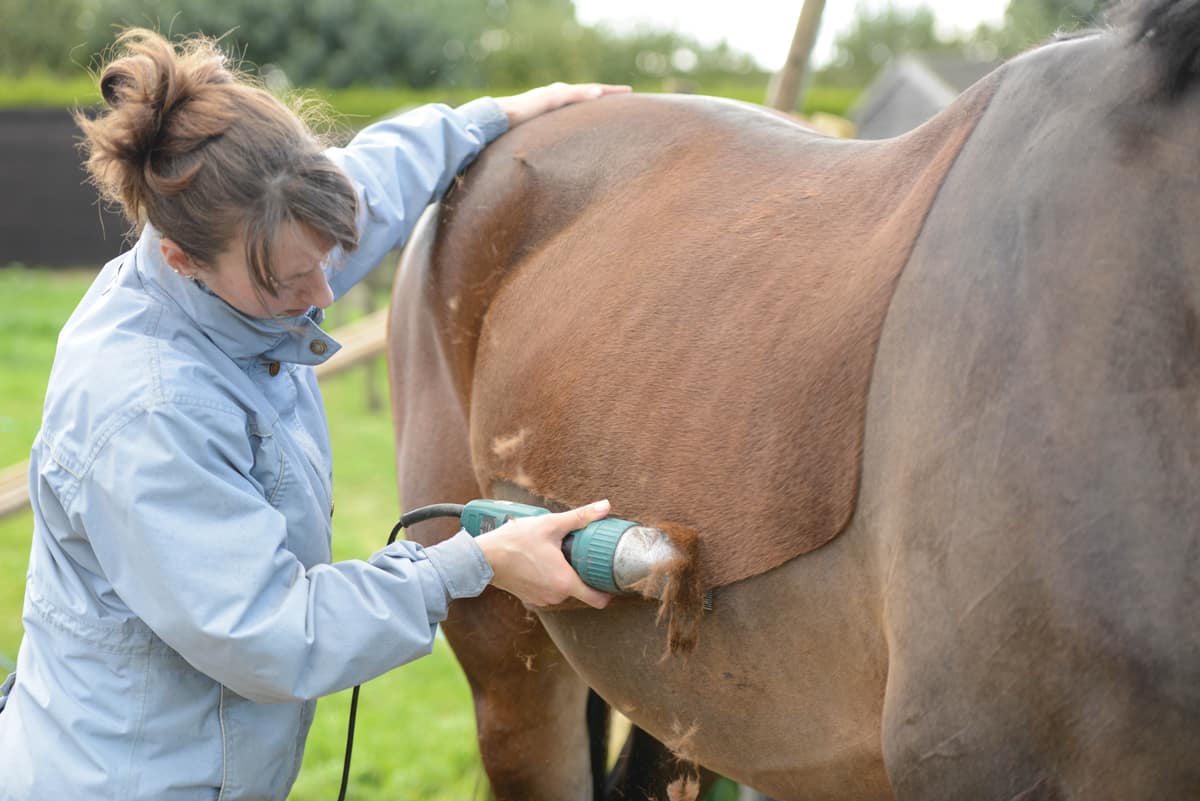
I usually body clip my horses each spring. My show horse usually ends up getting body clipped at least twice to keep his coat short for competitions. I do blanket if I clip and it is still cold out!
Many horses are clipped with patterns too. There are trace clips, saddle blanket clips, and many other types of clipping that could benefit your horse. There is a good example HERE of the different types of clips!
I usually send in my clipper blades to be sharpened. By the time I need to do this though, I am usually behind schedule or I have a show coming up quickly.
I grew frustrated with having to sending out my blades or drop them off, so I did some research and tried something different. I was pretty happy with the results and wanted to share them with you!
Are you ready to sharpen your own blades?
You will need:
A Phillips head screwdriver
Rags
A bucket
Clipper Oil
Kota Japan 1000-grit Coarse Side and 6000-grit Whetstone – I got this off of Amazon!
Step 1
I only sharpened one blade at a time. You have to use the screwdriver to take the blade apart (so each blade has two sections that are held together by a couple of screws.)
Place the tiny screws somewhere where they won’t wander off and get lost 🙂
Use a rag or brush to get all the dirt off and clean them up as best you can. Mine were pretty dirty and had some rust as well.
I Highly recommend taking a picture of the blade using your smartphone BEFORE you disassemble it! This REALLY helped me out when I put them back together!
Step 2
Submerge the whetstone in bucket of water. Little bubbles will appear. It only take a few minutes for the bubbles to stop. When you don’t see any more bubbles, your whetstone is ready to use.
Step 3
 Take one part of the blade and face it downwards (the direction the blade would be if you were clipping a horse) on the orange side (1000-grit) of the whetstone.
Gently rub your blade back and forth. I did light to medium pressure on the stone with my blade.
You can do small circles all over the stone, you can use the edges, etc. Try to avoid wearing down one spot on the stone or it become uneven and unusable.
This should only take a minute or two. I noticed mine were sharp when touching the points and some of the dirt and rust had been sanded off. Move to the white part of the stone which is the fine sanding/6000-grit. Repeat the same motions for a finished blade.
Repeat these steps with the second part of the blade.
Step 4
Use the screw you removed earlier to reassemble the blade. This step was the hardest. I have the very large super clippers and they were a PAIN to put back together. I reassembled each blade and put each finished blade on the clippers with the oil and ran them for a few seconds to make sure they were put together properly and that the screw was tight enough.
That’s it! Once you have completed this step you are done!
I was very happy with the results. I body clipped two horses that same week and had zero issues. They were very sharp! Avoid jabbing your horse with the blades. Focus on lying the blades flat against the hair when clipping.
The blades cut well and I don’t have to worry about sending them off to be sharpened because I now have the tools I need right here at home.
**TIP** I had the clipper blade repair shop mention that oil is life! Constantly oil your blades when using to help them clip effectively and prolong the life of your clippers AND your blades!**
If you don’t want to sharpen your own blades or would prefer to send them out, there are some good companies that will do it for you. You can try:
WillSharpen.com
BladeSharpening.com
PrecisionSharpening.net
Happy Clipping!!